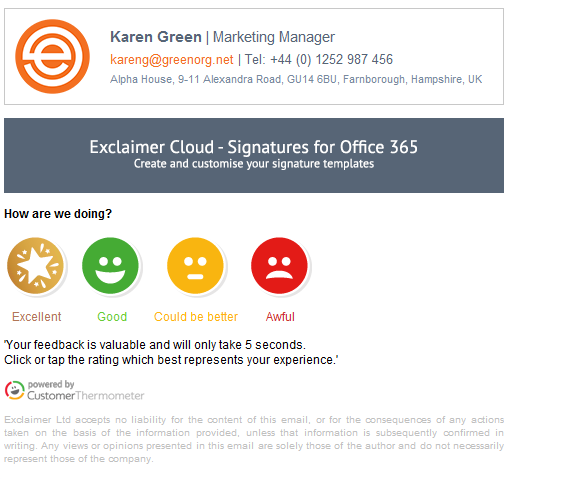
Related Products: Signature Manager Exchange Edition | Signature Manager Outlook Edition | Template Editor
WARNING! From 1st April 2021 Exclaimer will no longer be renewing any Software Maintenance Agreement (SMA) for Mail Disclaimers.
Please be assured that the Exclaimer Support team will provide support until your SMA is active.
However, we recommend that you contact the Exclaimer Sales team to discuss your requirements for an upgrade to Signature Management Exchange Edition or Exclaimer Cloud - Signatures for Exchange.
Scenario
Customer Thermometer is a great way to gain feedback from the services your company provides. However, you are unsure of how to integrate this into the signature.
Resolution
Customer Thermometer allows you to generate code based on the fields you choose. It is this code you will need to adapt for use with the signature designer.
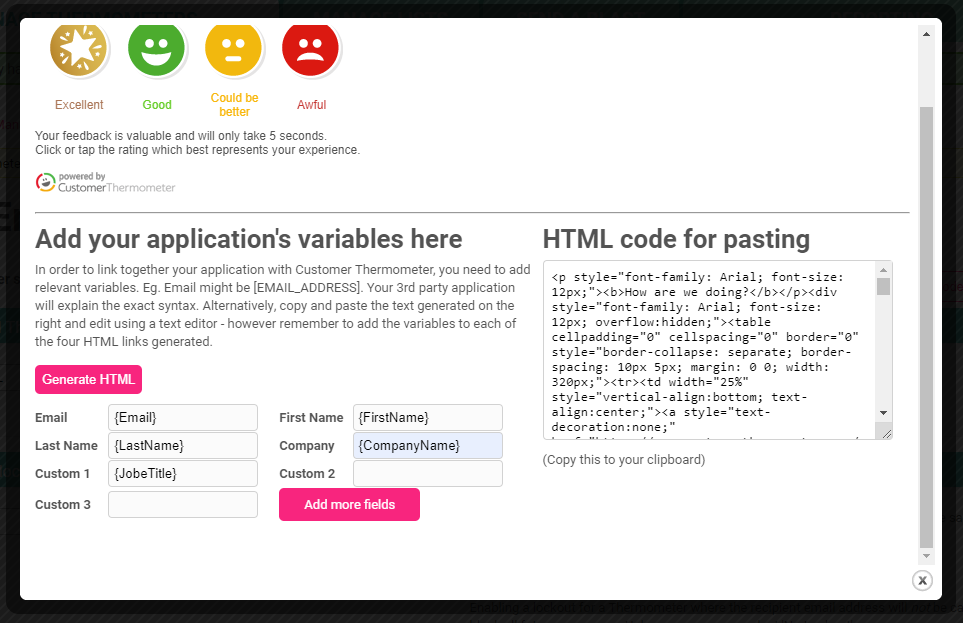
Please avoid copying the code straight into the source, of the signature. This may cause issues once the email has been received.
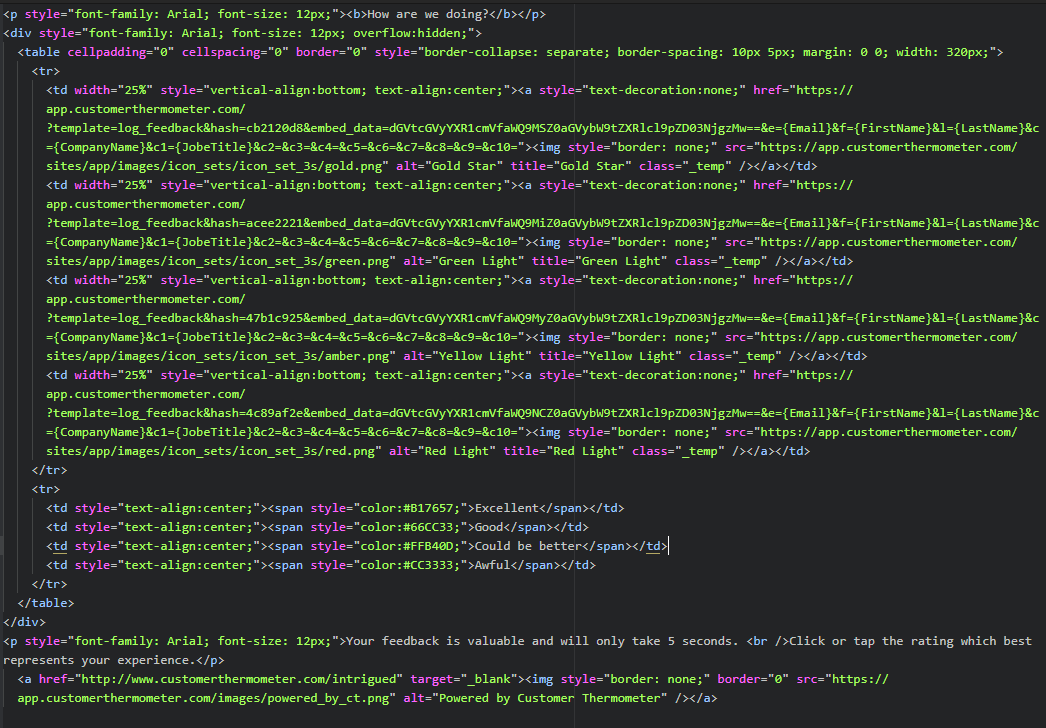
By viewing the .HTML file in a web browser, it will give you some idea of where to place the text and images, within your signature.
Example:
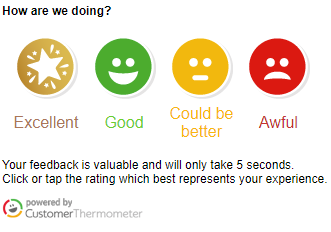
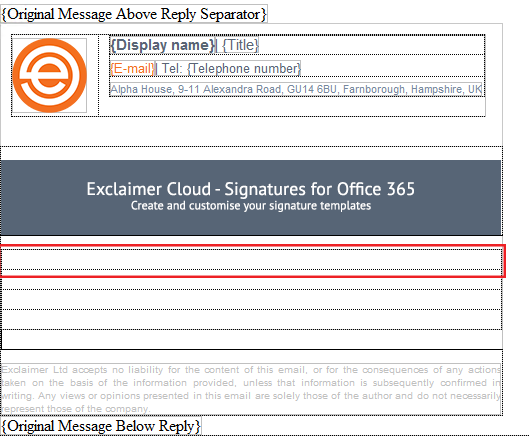
- Start by using a standard HTML table, with four rows.

- In the first table cell, insert a composite field from the dynamic content menu.

- Type in the question at the start of the customer thermometer.
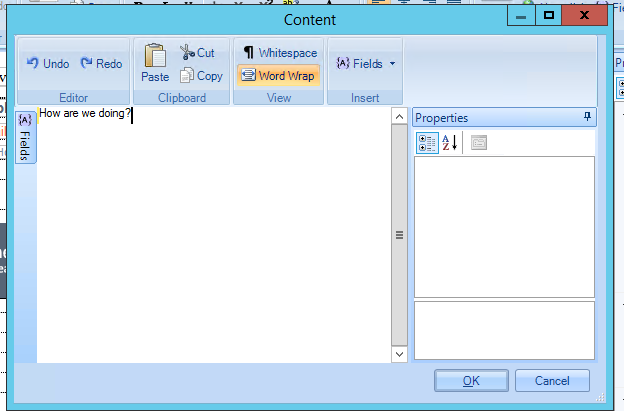
- Using the field Properties, set the text to Arial, 9pts, Bold = True.

- In the next empty cell, create another standard HTML table of 4 columns x 2 rows.
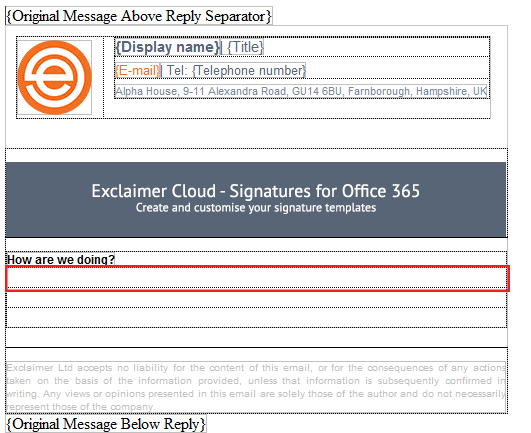
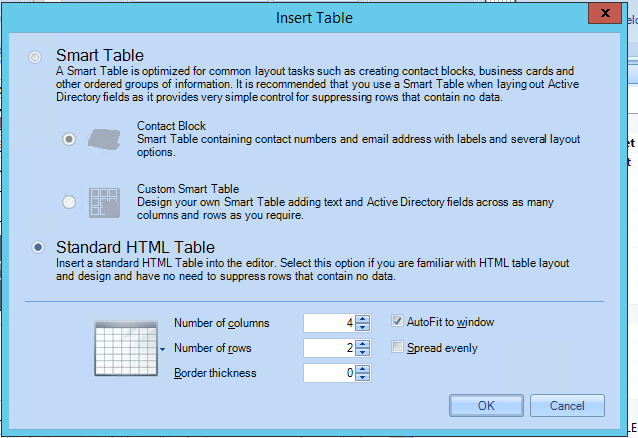
The table will be generated, in an empty cell.
- In each of the cells in the top row, insert a custom image and enter each of the image URLs one by one.


- You will be able to find the images in the code generated by the Customer Thermometer.
The custom image tool can only accept one hosted image URL at a time.
Example:
https://app.customerthermometer.com/sites/app/images/icon_sets/icon_set_3s/gold.png
https://app.customerthermometer.com/sites/app/images/icon_sets/icon_set_3s/green.png
https://app.customerthermometer.com/sites/app/images/icon_sets/icon_set_3s/amber.png
https://app.customerthermometer.com/sites/app/images/icon_sets/icon_set_3s/red.png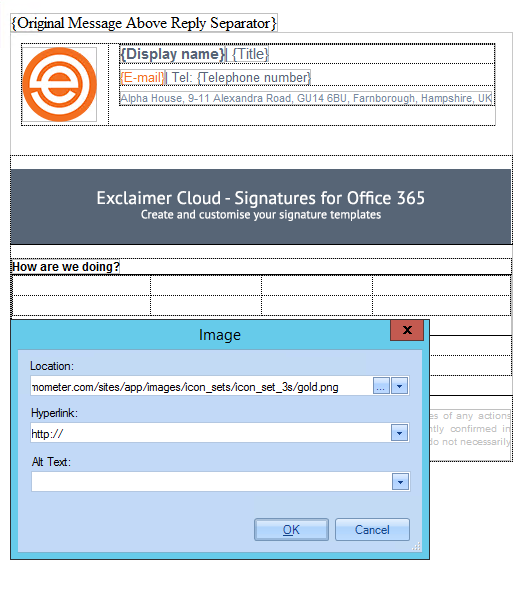
- At the same time, you can add the URLs for the customer feedback, into the hyperlink section. Example:
https://app.customerthermometer.com/?template=log_feedback&hash=6d893eb1&embed_data=dGVtcGVyYXR1cmVfaWQ9MSZ0aGVybW9tZXRlcl9pZD05NTEzNiZucHNfcmF0aW5nPS0x&e={Recipients)&f=&l=&c={CompanyName}&c1={FirstName} {LastName}&c2={Email}&c3=&c4=&c5=&c6=&c7=&c8=&c9=&c10=
https://app.customerthermometer.com/?template=log_feedback&hash=24feb5bc&embed_data=dGVtcGVyYXR1cmVfaWQ9MiZ0aGVybW9tZXRlcl9pZD05NTEzNiZucHNfcmF0aW5nPS0x&e={Recipients)&f=&l=&c={CompanyName}&c1={FirstName} {LastName}&c2={Email}&c3=&c4=&c5=&c6=&c7=&c8=&c9=&c10=
https://app.customerthermometer.com/?template=log_feedback&hash=d336364a&embed_data=dGVtcGVyYXR1cmVfaWQ9MyZ0aGVybW9tZXRlcl9pZD05NTEzNiZucHNfcmF0aW5nPS0x&e={Recipients)&f=&l=&c={CompanyName}&c1={FirstName} {LastName}&c2={Email}&c3=&c4=&c5=&c6=&c7=&c8=&c9=&c10=
ttps://app.customerthermometer.com/?template=log_feedback&hash=1173fbad&embed_data=dGVtcGVyYXR1cmVfaWQ9NCZ0aGVybW9tZXRlcl9pZD05NTEzNiZucHNfcmF0aW5nPS0x&e={Recipients)&f=&l=&c={CompanyName}&c1={FirstName} {LastName}&c2={Email}&c3=&c4=&c5=&c6=&c7=&c8=&c9=&c10=
You will need to ensure that the {fields} shown in the URL, are changed to work with your Active Directory Data, from the template.
- To do this, use the arrow keys to find the curly fields, then highlight the field and delete it.

- Use the drop-down arrow to add the same Active Directory Field to the space.
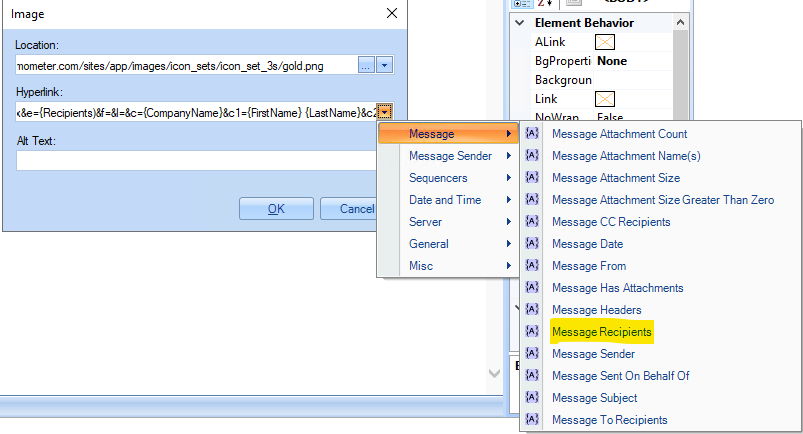
The fields should turn purple inside the URL.
Example: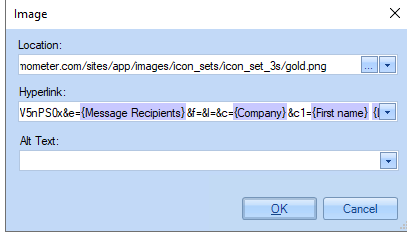
- Click OK and the image will be generated in the table cell.
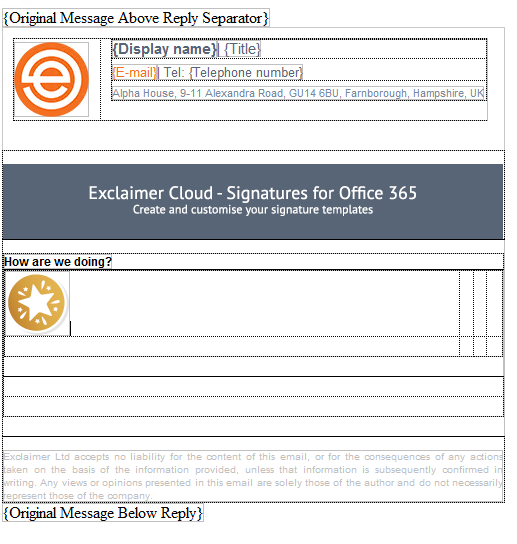
- Repeat the process for the other images.
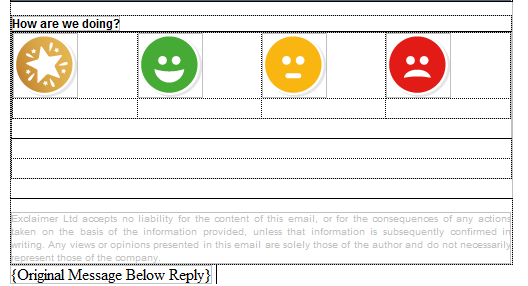
- In the cells underneath each image, create a composite field for each of the captions.
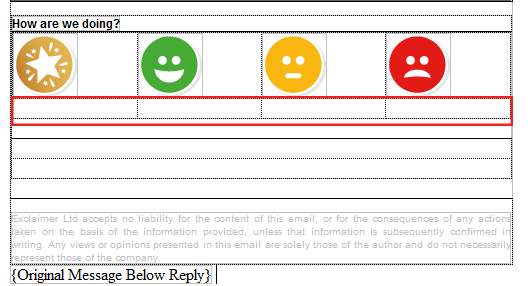
Example:
Excellent
Good
Could be better
Awful
At this point, don't worry about the alignment, you can set the central alignments later on.
- Each composite field will have its own colour and be set to Arial 9pts. This can be added using the field properties on the right-hand side.
Excellent - #B17657
Good - #66CC33
Could be better - #FFB40D
Awful - #CC3333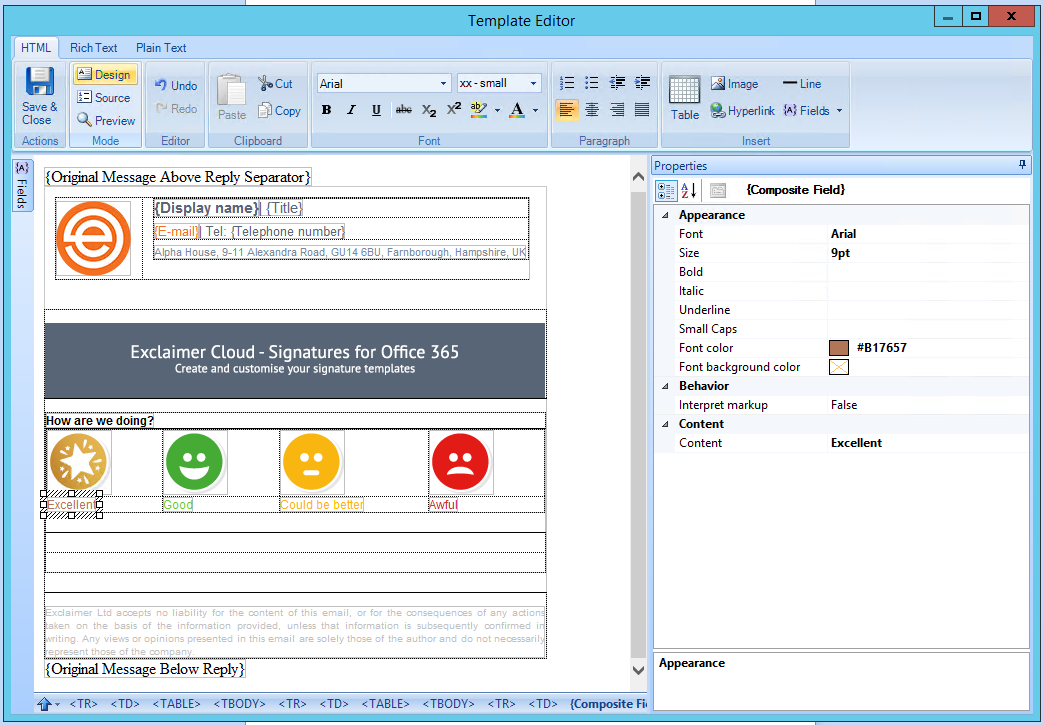
Once all the colours are set, the design will start to look similar to the HTML version.
- In the next table cell, add in another composite field, with the feedback text, and set this to Arial, 9pts.
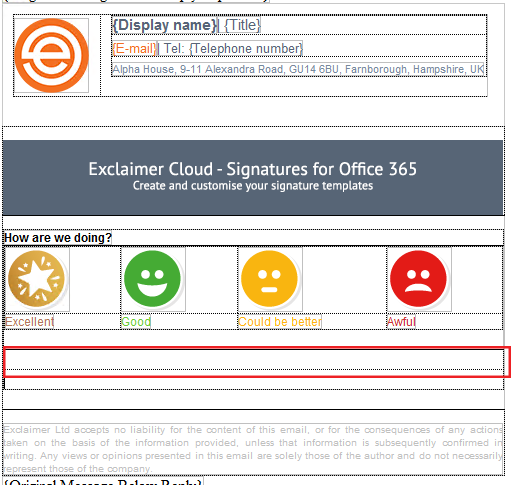
'Your feedback is valuable and will only take 5 seconds.
Click or tap the rating which best represents your experience.'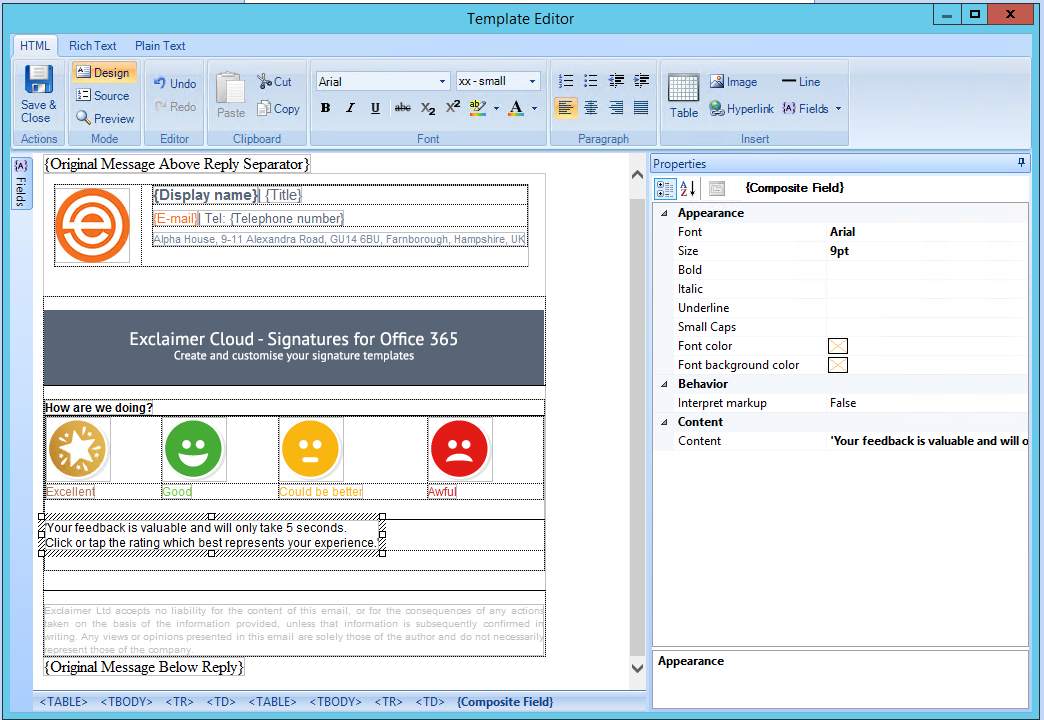
- Lastly, using the custom image tool, copy the URL for the last image from the HTML code and, the hyperlink that goes with it, into the last table cell.
Example: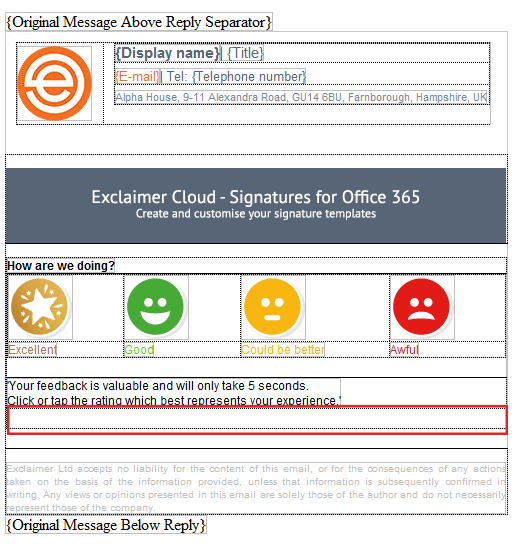
Image - https://app.customerthermometer.com/images/powered_by_ct.png Hyperlink - http://www.customerthermometer.com/intrigued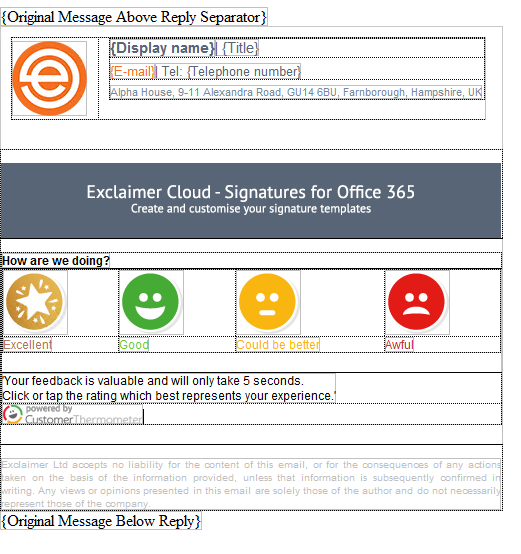
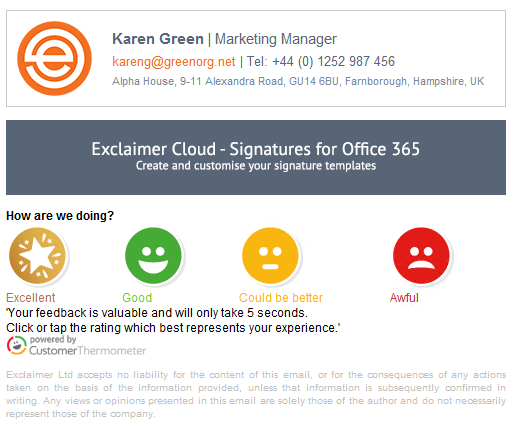
- The Customer Thermometer section will look misaligned and close together. You can fix this by using padding and central alignments, using the cell properties.
- Work on each row and add padding where it is required using Style.
- Click inside the table cell next to the element you wish to add padding to.
As an example, padding-bottom:13px; has been set in the cell containing 'How are we doing?'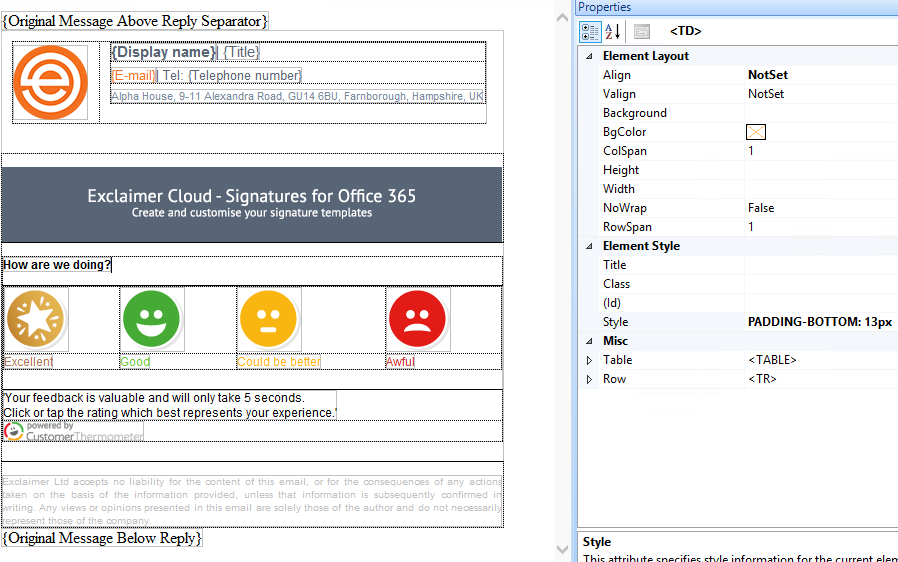
- Each Image will require a horizontal alignment of Centre, and each of the three table cells before the Red logo will require padding to the right.
Example: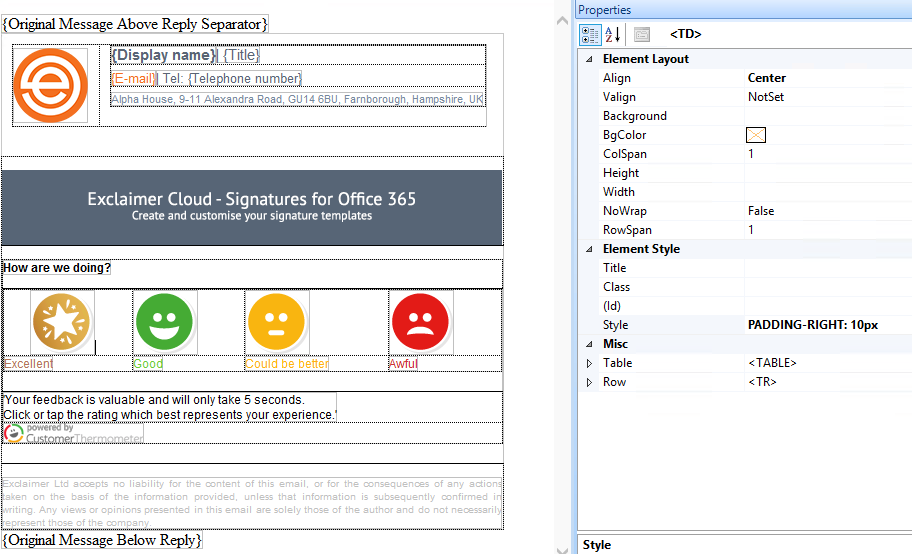
- Each text box under the images will require a horizontal alignment of Center, and each cell will need padding of 10px to the top, as well as each table cell, apart from the last one will need 10px to the right.
Example: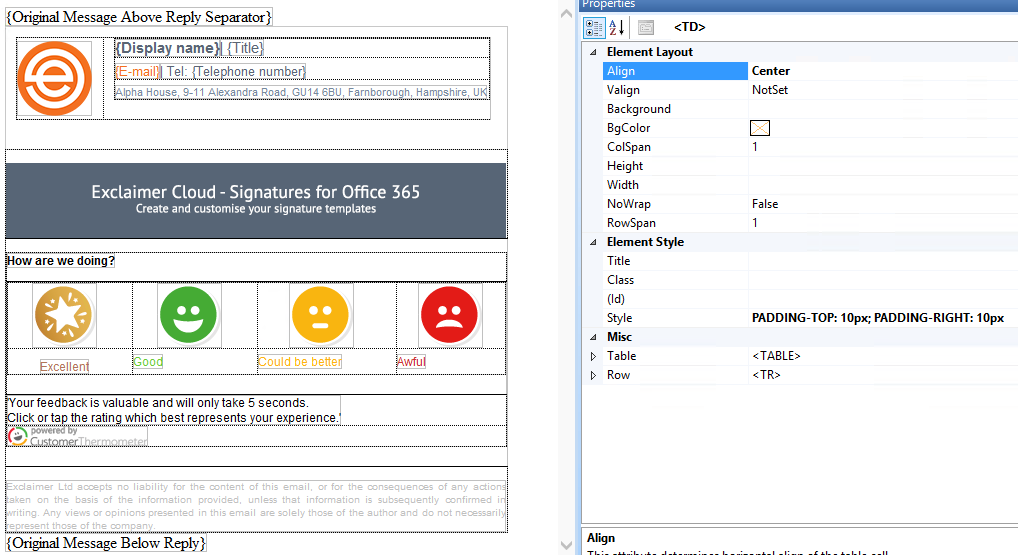
- The last couple of cells will require padding at the top. Add padding elsewhere in the signature above or below the Customer Thermometer to give the main signature some space as well.
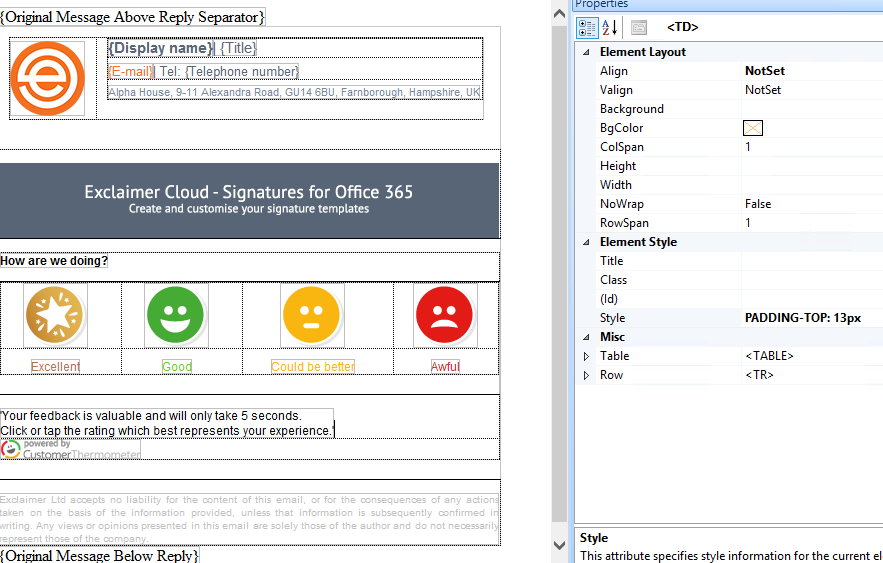
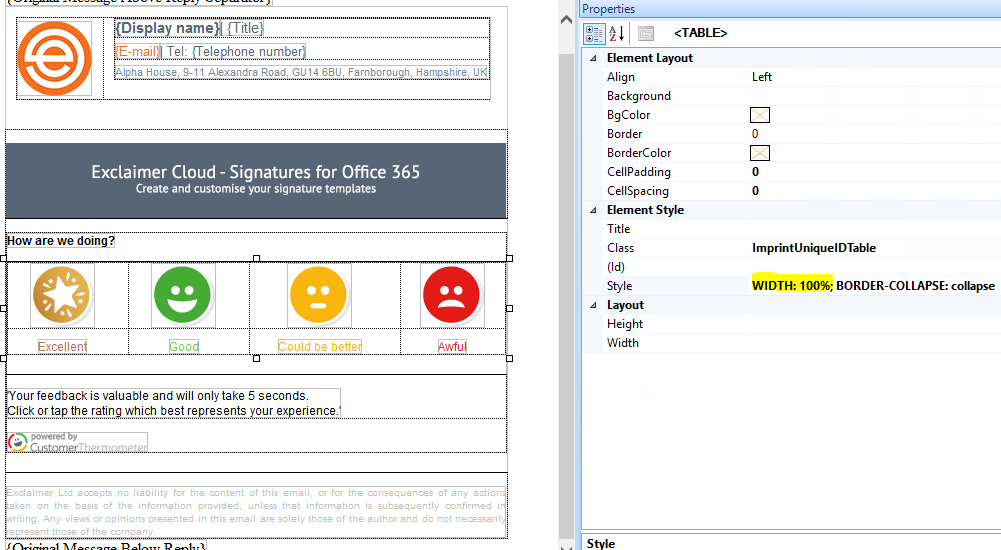
- Click on each table, remove the 100% width, to ensure the section is displayed at the correct size.
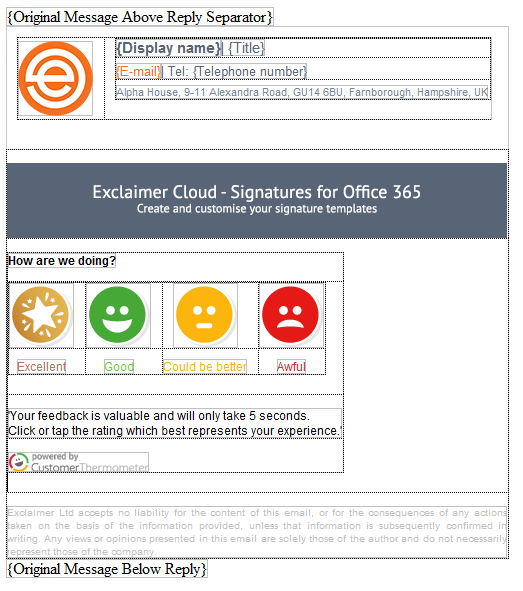
- The end result should look similar to the design in the web browser.
Example: