Relevant Products: Signature Manager Exchange Edition | Signature Manager Outlook Edition
Scenario
You would like a QR code in your signature template, and when scanned, it should display your contact information.
Resolution
You can achieve this in any one of the following ways:
You can also go through the difference between MeCard and vCard.
Setting up a MeCard
To set up a MeCard:
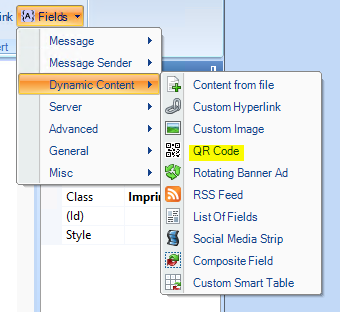
- In the template editor, select the QR Code from Fields > Dynamic Content:
The QR Code designer window is displayed: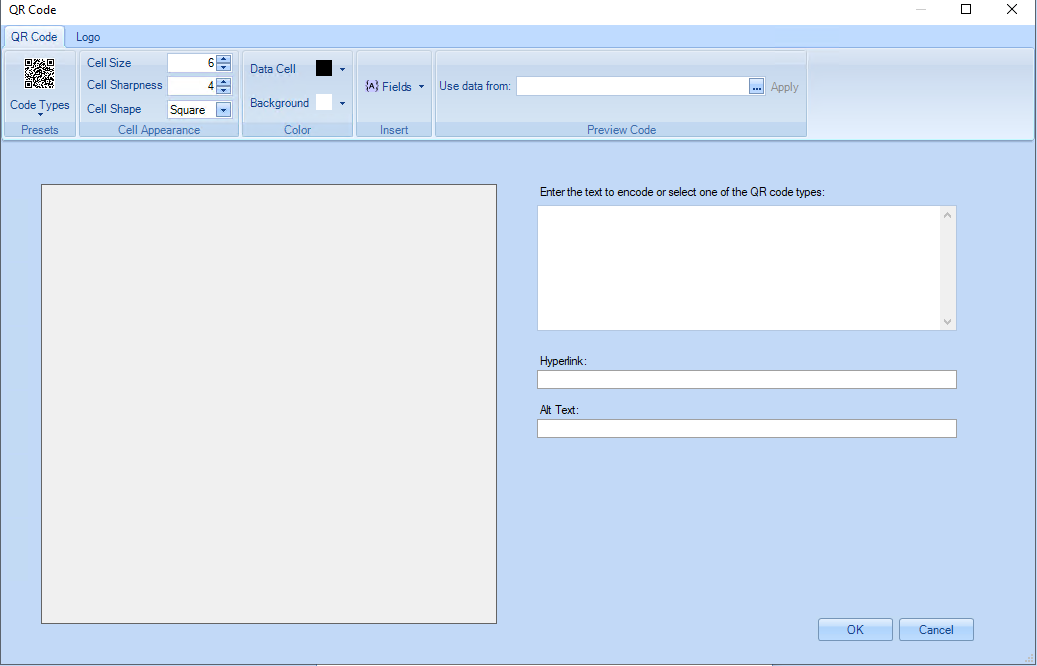
- The Code Types drop-down consists of options that you can use within the QR Code set up. For this example, we are going to select Contact.

- The Contact Details window is displayed.
All fields that can be automatically added are displayed. To change the fields, use the drop-down arrows.
- Click OK to save and close the window.
 Note: Not all fields can be used in a MECARD.
A QR code is generated along with the code next to it.
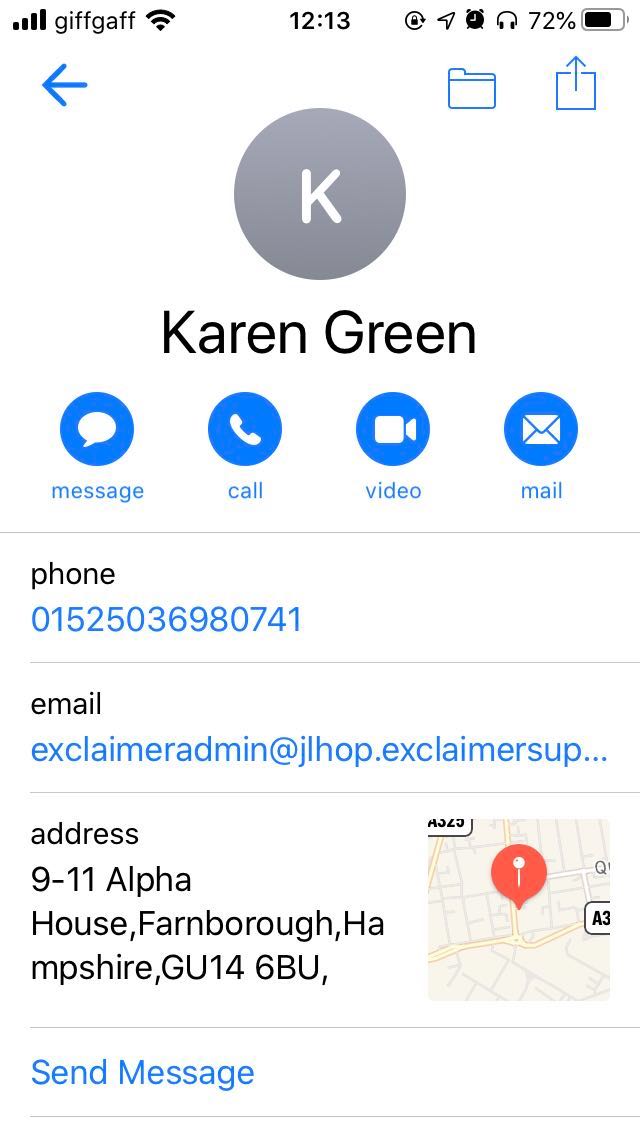
This can be read by mobile devices providing they have a QR code reader installed. The user's contact information will be pulled through using the fields that are populated.

-
As required, you can change the cell size, colours and sharpness.
In this example, the colours and settings have been left as the default.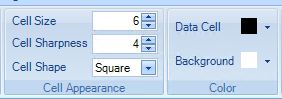
-
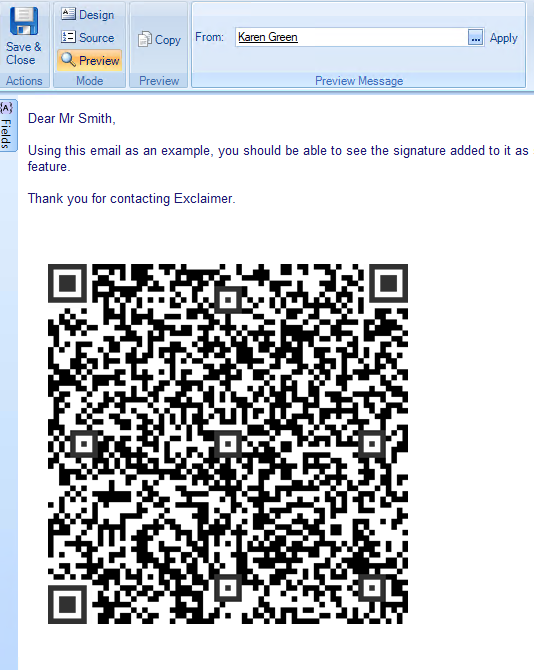
To test the MECARD, go to the design Preview in the template editor and select a user to test.
You will need to use a QR reader and/or the Phone Camera to check if the user's information populates correctly.
Note: When testing, the order contact information can vary between each device and the application used. This depends on how the device itself has been programmed to input data for each contact added.
For example, an Android device may have a different contact information layout to an iOS device.
However, it should allow you to save the contact with the contact information from the Message Sender.
Few examples:
QR Code scanned in from the Camera Application: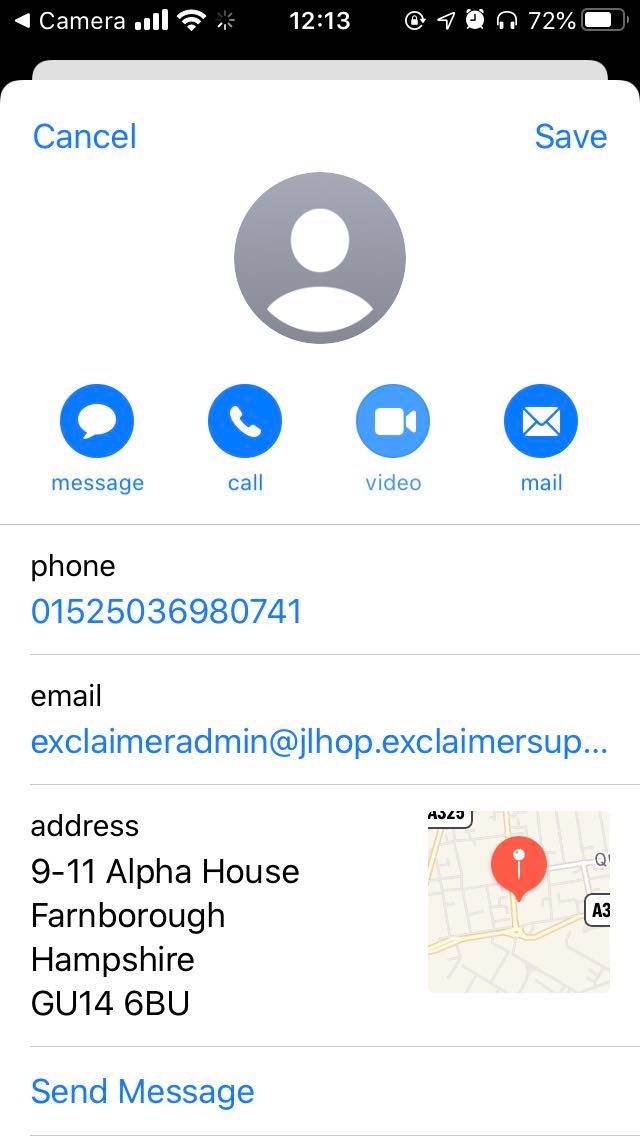
QR Code scanned with a QR Code Reader Application:
Setting up a vCard
To set up a vCard:
- In the template editor, select the QR Code from Fields > Dynamic Content:
The QR Code designer is displayed:
You can now start setting up the QR code as required. -
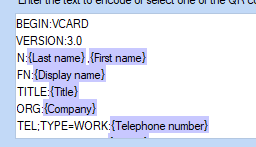
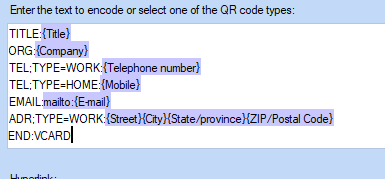
In Enter the text to encode or select one of the QR code types start structuring the vCard using fields from the Active Directory and the correct Version.
Here you can see the code and fields have been added with return lines, following the above format. The fields have been selected from the Active Directory, with the correct labels to allow the QR Code to work.
-
To test the vCard, go to the design Preview in the template editor and select a user to populate the information.
In this example, our test user is Peter Jones.
You will need to use a QR reader and or the Phone Camera to check the information populates correctly.The test now appears as below:
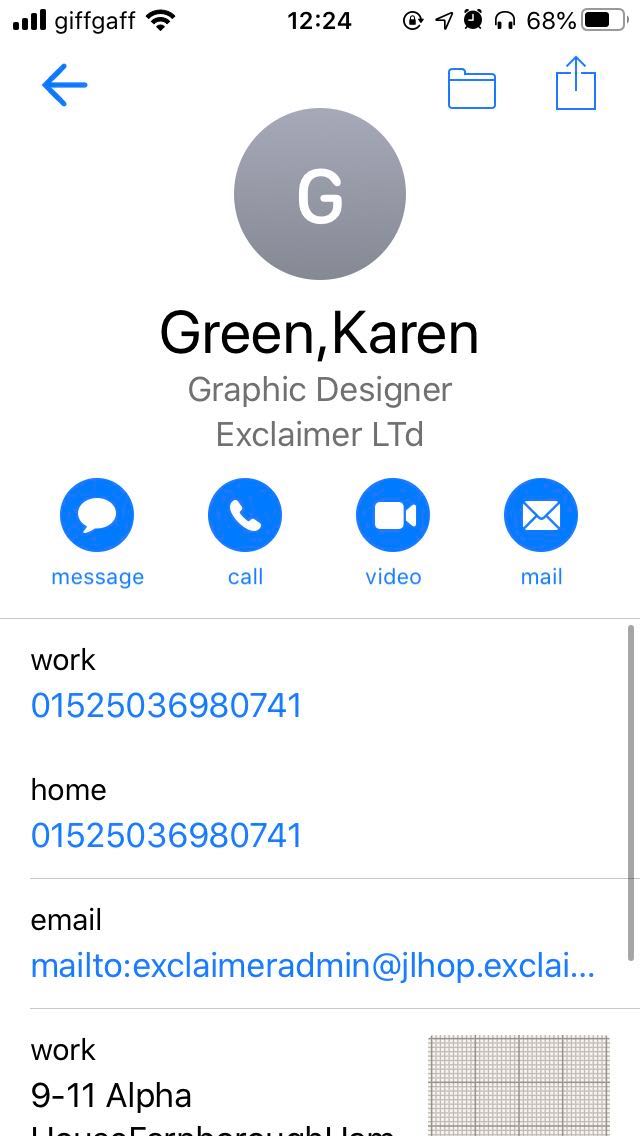
You can see that compared to the MeCard, the vCard contains far more information due to the ability to specify numbers, addresses, emails, job titles and so on.
Also, the same information is displayed by the Camera Application and the QR code reader:
Difference between MeCard and vCard
You may notice that Job Title and a few other fields may not work with MeCard, this is where the vCard (Virtual Contact File) differs.
vCards are created by typing lines of code, tags and property types that accompany your information.
For better understanding, the format of MeCard is:MECARD::N:Last Name,First Name;TEL: Number;EMAIL:@domain; ADR:Street,City,State,Zip,Country;
The format of vCard is:
(This requires a little more code in order to function, such as being separated by line breaks and stating BEGIN, VERSION and END when structuring)BEGIN:VCARD
VERSION:3.0
N:Jones, Peter
FN:Peter Jones
TITLE:Graphic designer
ORG:Exclaimer Ltd
TEL;TYPE=WORK:number
TEL;TYPE=HOME,
PREF:number
ADR;TYPE=work:street,region,post code,country
END:VCARDNote: For more information, see the list of all compatible attributes and properties that can be found via this article - vCard 3.0 format specification.